
Mastering the Art of Night Photography: Techniques, Gear, and Workflow
Introduction
Night photography is a unique and rewarding form of photography that offers challenges and creative opportunities unlike any other. Whether you're capturing cityscapes under starry skies or experimenting with long exposures, mastering night photography requires understanding key techniques, the best gear, and efficient editing workflows. In this guide, we will explore how to enhance your night photography skills, from capturing stunning shots to post-processing your images to perfection.
Essential Night Photography Techniques
To excel at night photography, it’s important to master a few essential techniques. Here are some foundational practices to keep in mind when shooting at night:
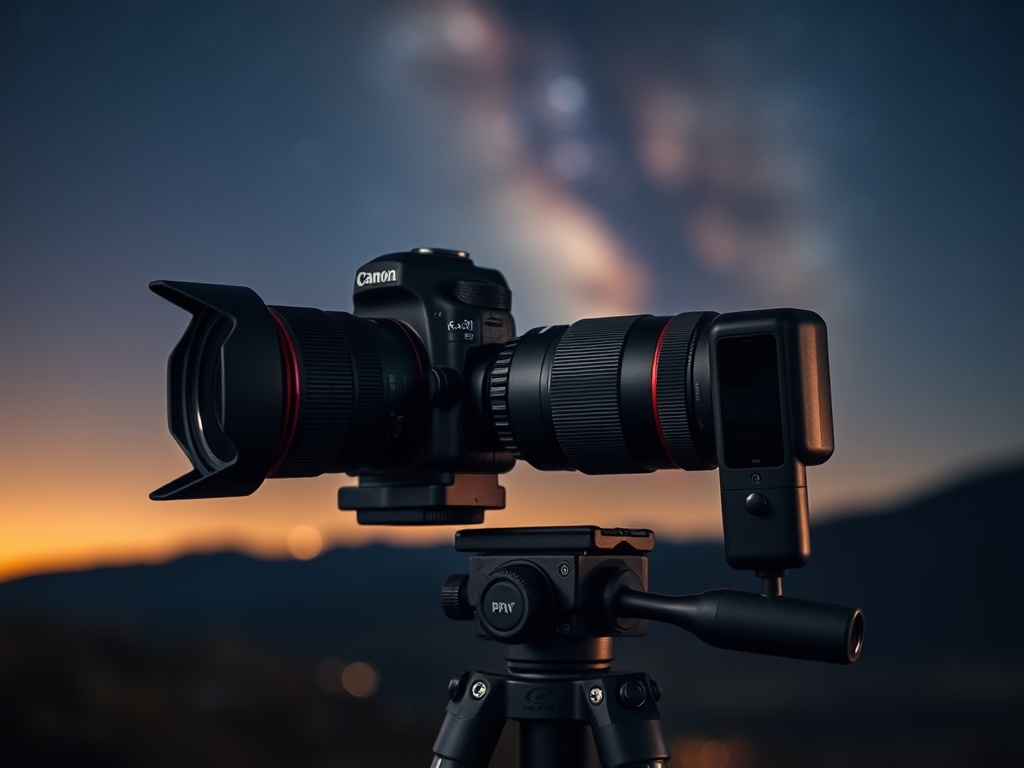
- Use a Tripod: Stability is key when shooting in low light conditions. A tripod ensures that your camera remains steady, even for long exposure shots.
- Wide Aperture: Use a wide aperture (low f-number) to allow more light into the camera, which is essential for capturing well-exposed night scenes.
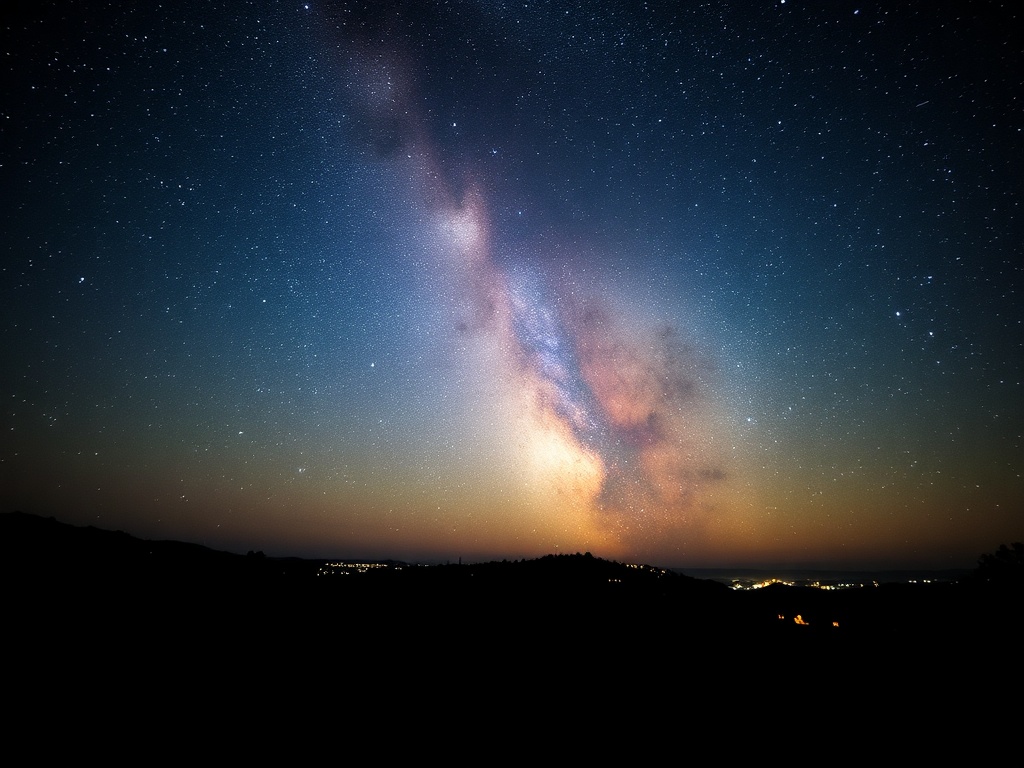
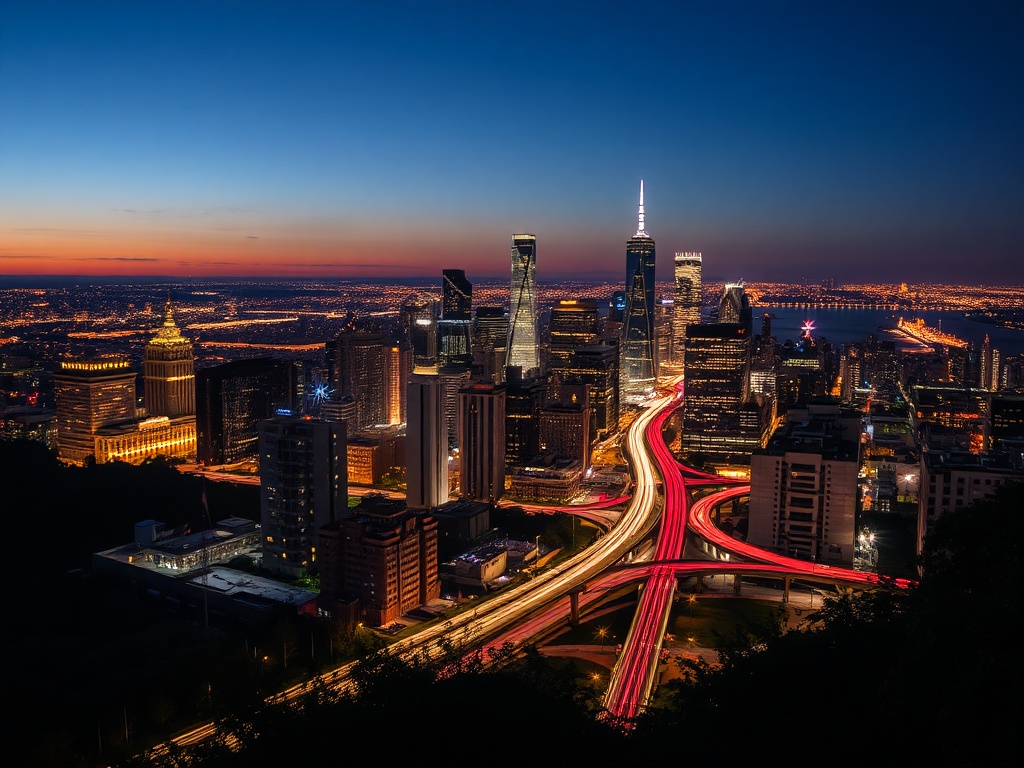
- Long Exposures: For capturing light trails, starry skies, or city lights, long exposures are a must. Experiment with shutter speeds ranging from a few seconds to several minutes.
- Manual Focus: Autofocus often struggles in low light, so switching to manual focus will help you achieve sharp images.
- Low ISO: To avoid noise in your photos, keep your ISO as low as possible while still maintaining a properly exposed image.
Choosing the Right Gear for Night Photography
Having the right gear can significantly impact the outcome of your night photography sessions. Here’s a list of essential gear for nighttime shooting:
- DSLR or Mirrorless Camera: A camera with manual controls and the ability to shoot in raw format is highly recommended for night photography.
- Wide-Angle Lens: A wide-angle lens (16-35mm) allows you to capture more of the scene, making it perfect for both landscapes and architecture.
- Remote Shutter Release: A remote shutter release or intervalometer is useful for preventing camera shake when taking long exposure shots.
- Headlamp: A headlamp with red light is essential for adjusting settings or switching lenses without affecting your night vision.
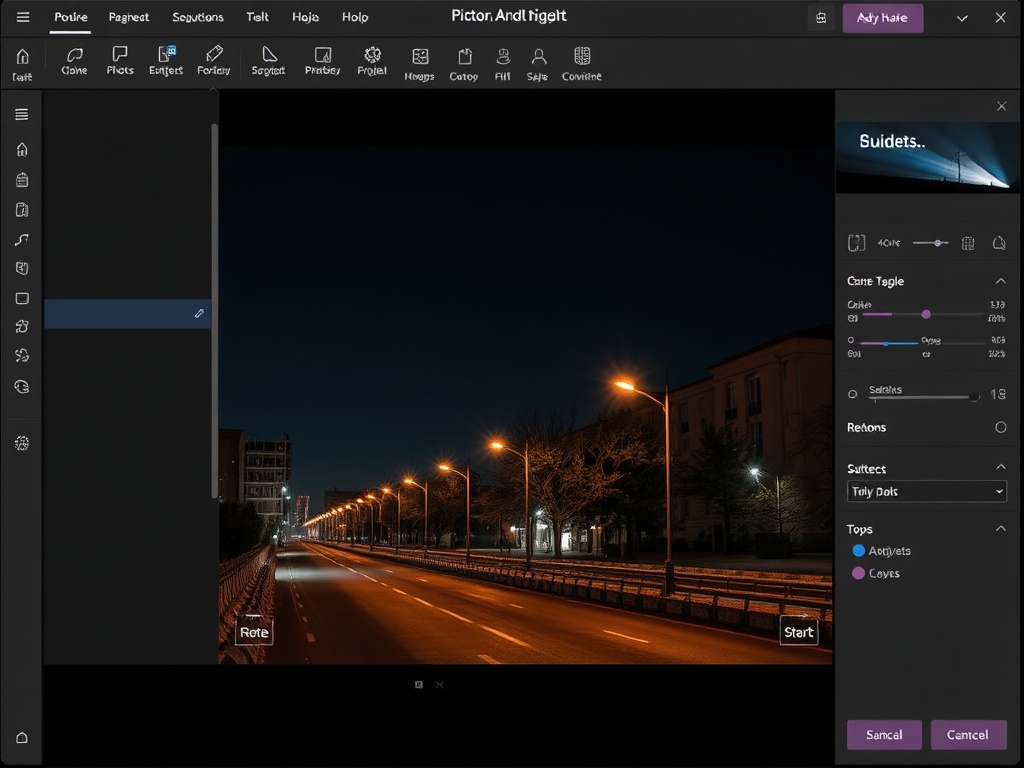
Night Photography Editing Workflow
After capturing your images, the next step is editing. Here’s a general editing workflow for night photography:
- Start with Raw Files: Always shoot in raw format to retain the most image data for post-processing.
- Adjust White Balance: Night shots often have a cool or warm color cast. Adjust the white balance to bring out the natural tones of your image.
- Enhance Exposure and Contrast: Adjust exposure, highlights, and shadows to ensure your image has the right balance of light and dark areas.
- Remove Noise: Night photography can introduce noise, especially at high ISOs. Use noise reduction tools in editing software like Lightroom or Photoshop.
- Sharpen the Image: Use selective sharpening to bring out the finer details of your photo, such as stars, textures, and light trails.
Conclusion
Night photography is an art that requires patience, creativity, and the right techniques. By mastering essential techniques, using the best gear, and developing a solid editing workflow, you can take stunning night photos that capture the beauty and magic of the night.
With practice and persistence, you’ll find yourself pushing the boundaries of what’s possible in night photography. Whether you're a beginner or an experienced photographer, night photography offers endless possibilities to explore.