Managing Noise and Sharpness in High ISO Scenarios

Why does digital noise occur in low light?
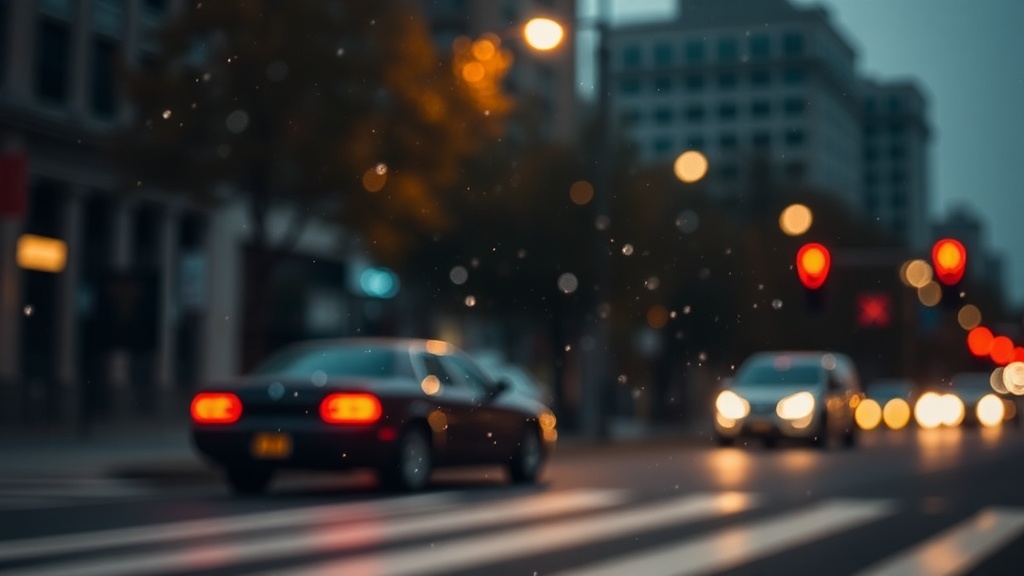
Did you know that a single pixel in a high-ISO image might be receiving signal from much more than just the light hitting the sensor? At high ISO levels, the electronic amplification of the signal introduces random fluctuations. This creates the grainy, multicolored speckles we call noise. It isn't just a nuisance; it's a physical limitation of how sensors interpret light when the photons are scarce. When you're shooting in the middle of a dark Boise field or a dimly lit urban alley, your camera's sensor is working overtime to differentiate between actual light and electrical interference.
There are two main types of noise you'll face. First, there's shot noise—which is inherent to the physics of light itself. This happens because light arrives in discrete packets called photons. Since light arrival is a random process, the number of photons hitting the sensor fluctuates. The second type is read noise, which comes from the camera's internal electronics. As you push your ISO higher, you aren't just making the sensor more sensitive; you're turning up the volume on the electrical noise present in the circuitry. This is why a shot taken at ISO 6400 looks vastly different from one at ISO 100.
To combat this, you need to understand the trade-offs between shutter speed, aperture, and ISO. If you're shooting a long exposure, you can keep your ISO low and let the shutter do the work. However, if you're shooting handheld or dealing with moving subjects, you might be forced into higher ISO ranges. Understanding these mechanics helps you decide when to push your gear to its limits and when to back off.
Can I get sharp images at high ISO?
The biggest fear for night photographers is the combination of motion blur and high-frequency noise. You want a crisp subject, but the grain makes everything look soft. One way to maintain sharpness is through proper exposure. Under-exposed images often look better when processed through noise reduction software, but over-exposed images at high ISO can actually blow out your highlights and bake in the grain. You're looking for that "sweet spot" where the sensor has enough data to define edges without losing detail to digital artifacts.
Using a tripod is the most obvious solution for keeping things sharp, but it doesn't solve the noise problem. Even with a perfectly steady camera, the sensor's inability to resolve detail at high ISOs can make an image look "mushy." To keep things sharp, focus on your aperture settings. While a wide-open aperture (like f/1.8) lets in more light, it also decreases your depth of field. Sometimes, stopping down to f/4 or f/5.6 provides a more forgiving plane of focus, even if it means you have to bump up the ISO to compensate. This balance is the core of professional night work.
Another trick involves using a fast enough shutter speed to freeze the subject, then relying on post-processing for the grain. If you look at the technical specifications for modern sensors on NASA's astronomical resources, you'll see how even the most advanced cameras deal with signal-to-noise ratios. The goal is to maximize the signal (the light) while minimizing the noise (the grain). This might mean using a slightly faster shutter speed and a higher ISO rather than a long, slow exposure that results in a blurry, noisy mess.
Techniques for minimizing grain in post-processing
Once you get back to your computer, the battle continues. Modern software has changed the game for night photographers. Instead of just slapping a heavy-handed noise reduction filter on everything, you need a nuanced approach. A common mistake is applying too much reduction, which turns your skin tones or organic textures into a plastic, "wax-like" appearance. This kills the fine-grain detail that makes a photo look professional.
- Use Luminance Noise Reduction: This targets the grain in the bright areas of your image.
- Use Color Noise Reduction: This targets those weird purple and green speckles in the shadows.
- Stacking is King: If you're shooting static subjects, take multiple shots of the exact same scene and use software to average them. This is a massive help for astrophotography.
If you're using Lightroom or Capture One, try to use the masking tools. You don't want to apply noise reduction to your entire image. If you have a sharp light source or a bright star, you want to keep that crisp. Apply the heavy lifting of noise reduction only to the shadow areas where the grain is most visible. This keeps the highlights sharp while cleaning up the dark, grainy corners of your frame.
What are the best settings for night shooting?
There isn't a single "magic number," but there is a logical workflow. Start by finding your camera's "ISO ceiling." This is the point where the noise becomes unacceptable for your specific needs. For many mid-range mirrorless cameras, this might be around ISO 3200 or 6400. For high-end full-frame bodies, you might be able to push to 12800 with great results.
Here is a general starting point for different scenarios:
| Scenario | Aperture | ISO Range | Shutter Speed |
|---|---|---|---|
| Street Photography | f/2.8 - f/4 | 1600 - 6400 | 1/60s - 1/250s |
| Static Landscape | f/8 - f/11 | 100 - 800 | 10s - 30s |
| Astrophotography | f/1.4 - f/2.8 | 1600 - 3200 | 15s - 25s |
When you're out in the field, don't be afraid to experiment. Take a test shot at ISO 1600, then 3200, then 6400. Look at the histogram and the actual grain in the shadows. If the jump from 3200 to 6400 makes the image unusable, you've found your limit. You can also check Photography Life for deep dives into specific sensor performance and how different manufacturers handle high ISO levels.
Remember, the goal is to get the best possible exposure in-camera. While you can fix a lot in post, it's much harder to recover details that were never captured. If your image is too dark, you'll have to push the shadows, which pulls up the noise. If it's too bright, you'll lose the subtle gradations of the night sky. Aim for an exposure that shows detail in the shadows without making the highlights look blown out. This gives you the most flexibility when you're sitting at your desk later that week.
The relationship between your light and your sensor is a delicate one. Whether you're chasing the light of a neon sign in a downtown alley or the faint glow of a distant nebula, respect the limits of your gear. A well-exposed, slightly grainy photo is almost always better than a perfectly clean but underexposed one. The grain can be managed; lost detail cannot.