Balancing Neon and Shadow in the Modern Urban Night

Managing the High-Contrast World of City Lights
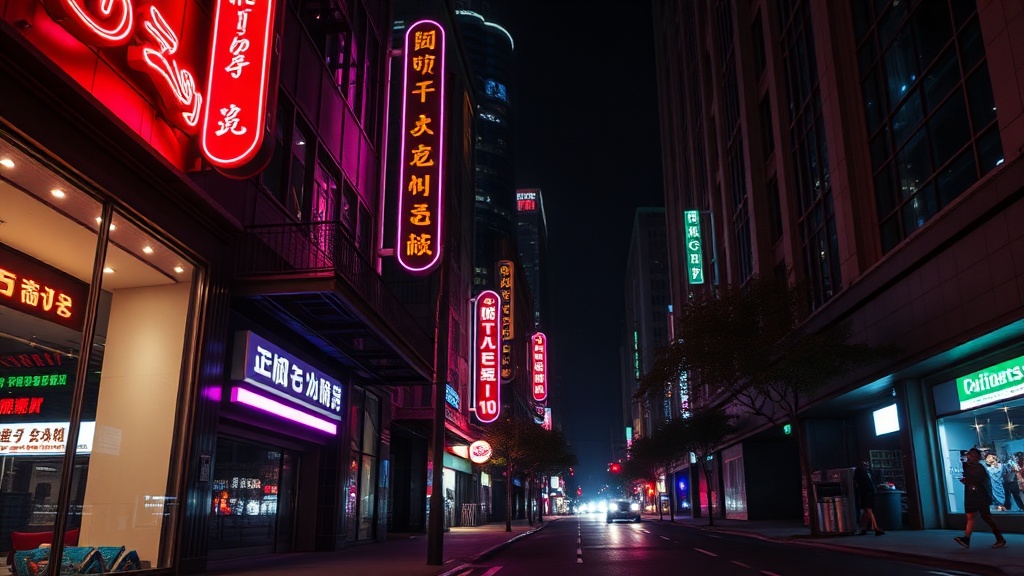
You’re standing on the 8th Street bridge in Boise, watching the blue hour fade into deep indigo. The neon signs of the Egyptian Theatre are buzzing, and car headlights are starting to stretch into long, white ribbons. If you just hit the shutter now, you’ll likely end up with a mess of white blobs where the streetlights should be and muddy shadows where the details of the brickwork belong. This guide covers how to manage extreme dynamic range when the city is at its most contrasty—a skill that separates a lucky snapshot from a professional cityscape.
The biggest hurdle in urban night photography isn't the lack of light; it's the sheer volume of competing light sources. You have high-pressure sodium lamps, modern LED streetlights, glowing office windows, and the pitch-black voids of alleys. Your camera's sensor, as good as it might be, can't see the world the way your eyes do. It wants to turn everything into a middle gray, which is exactly why your automatic settings will fail you here. You have to take control of the exposure to ensure those highlights don't clip into unrecoverable white space while keeping enough detail in the shadows to prevent them from becoming noisy 'crushed' blacks.
Why are my night photos blurry even with a tripod?
It’s frustrating to get home, pull your files up on a big monitor, and realize that every single shot has a slight haze or double-edge. You used a tripod, so what happened? Most of the time, the culprit isn't the tripod itself but the way you interacted with the camera. Even the sturdiest set of legs can't compensate for 'mirror slap' in older DSLRs or the physical vibration caused by your finger pressing the shutter button. When you’re shooting a 10-second exposure, even a microscopic tremor at the start of the sequence will ripple through the entire frame.
To fix this, you need to use a remote shutter release or the camera's built-in self-timer (set it to at least two seconds). If you’re using a DSLR, enable mirror lock-up mode. For mirrorless shooters, the electronic front-curtain shutter is your best friend. Also, pay attention to the wind. In downtown areas, tall buildings create wind tunnels that can vibrate your tripod like a tuning fork. If it's a gusty night, hang your gear bag from the center column hook to add mass—just make sure the bag isn't swinging, or it’ll actually make the problem worse.
What camera settings work best for city lights?
There is no 'magic' setting, but there is a logic you should follow. Start with your ISO at its native base—usually ISO 100 or 160. Many beginners think they need to crank the ISO because it’s dark, but you have a tripod. Use it. Higher ISOs decrease your