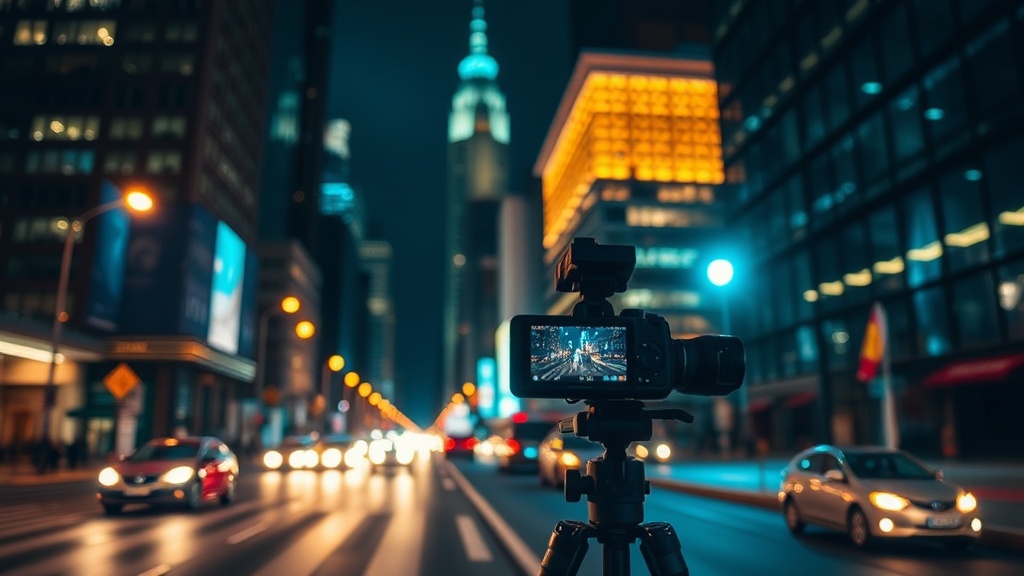
7 Practical Techniques for Shooting City Nights Without a Tripod

Can You Really Shoot Night Photography Without a Tripod?
Most night photography guides assume you're willing to lug around a heavy tripod, find a stable surface, and wait patiently for 30-second exposures. But what happens when you're exploring a city at night and don't want to carry extra gear? Or when security won't let you set up a tripod in a busy pedestrian zone? Handheld night photography isn't just possible—it's a skill that opens up spontaneous opportunities and keeps you mobile in urban environments. This guide covers seven field-tested techniques for capturing sharp, compelling night images without the three-legged support most photographers think they need.
What's the Minimum Shutter Speed for Sharp Handheld Night Shots?
The reciprocal rule is your starting point, but it's not gospel—especially at night. For a 50mm lens on a full-frame body, traditional wisdom suggests 1/50s as your floor. In practice, most photographers need 1/125s or faster to eliminate camera shake when adrenaline isn't pumping and fatigue sets in. Here's where modern gear changes the equation: cameras with in-body image stabilization (IBIS) can reliably buy you 4–6 stops of compensation. That 1/125s requirement drops to 1/8s or even 1/4s with steady hands and activated stabilization.
The real trick isn't just stabilization—it's burst mode. Set your camera to continuous high-speed shooting and fire off 5–7 frames in quick succession. At least one or two will be sharper than the rest due to micro-variations in hand tremor. Later, you can stack these in Photoshop or simply pick the sharpest frame. This technique has saved countless shots during impromptu night walks through downtown Boise when I left the tripod at home.
How High Can You Push ISO Before Image Quality Collapses?
The answer depends on your camera's sensor size and generation, but most modern full-frame bodies handle ISO 6400–12800 with acceptable noise levels when processed carefully. Crop-sensor cameras top out around ISO 3200–6400 for clean results. The key isn't avoiding noise entirely—it's managing it through exposure strategy.
Exposing to the right (ETTR) at night sounds counterintuitive, but slightly overexposing your RAW files gives you more data to work with in post-processing. You can pull down highlights and reduce shadow noise more effectively than trying to recover crushed blacks. A well-exposed ISO 6400 file often looks cleaner than an underexposed ISO 3200 file pushed two stops in editing. Test your specific camera to find its personal ceiling—the point where color fidelity degrades and chroma noise becomes impossible to suppress.
For reference, DPReview's comprehensive ISO guide explains the technical relationship between sensor amplification and noise patterns better than most manufacturer spec sheets.
Which Aperture Settings Work Best for Night Street Photography?
Wide open seems like the obvious choice—f/1.4 or f/1.8 lets in maximum light and creates that creamy bokeh everyone loves. But shooting wide open at night introduces problems: shallow depth of field makes focusing critical, and many lenses exhibit softness or chromatic aberration at their extreme apertures. The sweet spot for most fast primes is 1–1.5 stops down from maximum. An f/1.4 lens often performs best at f/2 or f/2.8.
Consider the story you're telling, too. Environmental portraits at night usually need context—buildings, streetlights, passing cars. An aperture of f/4 or f/5.6 keeps your subject sharp while rendering the background recognizably rather than reducing it to abstract circles. Yes, you'll need higher ISO or slower shutter speeds to compensate, but the compositional clarity often justifies the trade. If your lens lacks stabilization and you're shooting handheld, f/2.8 represents a reasonable compromise between light gathering and depth of field.
What Focusing Techniques Work When Autofocus Fails?
Low-light autofocus hunts. It searches back and forth, never locking, draining your battery and missing the moment. Switch to manual focus or use back-button AF to decouple focusing from shutter release. For static scenes, live view with magnification lets you nail focus on specific elements—signage, architectural details, distant lights.
Zone focusing is the street photographer's secret weapon. Pre-focus your lens to a specific distance (say, 3 meters), stop down to f/8 or f/11, and capture anything within your depth of field without refocusing. At f/8 on a 35mm lens, everything from roughly 1.5 meters to infinity stays acceptably sharp. This technique requires practice and memorization of hyperfocal distances, but it transforms night shooting into an instinctive, reactive process rather than a technical wrestling match.
The phase-detect systems in mirrorless cameras have improved dramatically, but contrast-detection in live view remains more reliable for critical night focusing. B&H Photo's focusing fundamentals covers these concepts with helpful visual diagrams if you need a refresher on manual focus techniques.
How Do You Balance Mixed Lighting at Night?
Cities throw everything at your sensor—tungsten streetlights, LED signage, fluorescent office windows, car headlights, moonlight. Auto white balance often produces muddy, inconsistent results. Instead, shoot RAW and select a manual white balance that serves your creative intent. Daylight (5500K) preserves warm sodium vapor tones that give urban night scenes their characteristic atmosphere. Tungsten (3200K) cools down overly yellow casts but can make moonlit areas too blue.
Bracketing white balance—shooting the same scene at different color temperature settings—gives you flexibility in post. Some photographers carry small gray cards or color-checker passports for reference, though these rarely see use in fast-paced street situations. Learn to read your camera's histogram for individual color channels. Clipped red channels from warm streetlights are common and difficult to recover.
Where Should You Position Yourself for the Best Available Light?
Light hunting becomes second nature with practice. Scout locations during daylight, noting where bright storefronts, illuminated building facades, and busy intersections concentrate. Return after dark when these same spots provide natural lighting without supplemental gear. Position subjects near these light sources rather than directly under them—side lighting creates dimension and avoids the harsh, flat look of overhead illumination.
Reflective surfaces multiply your options. Wet pavement, glass windows, and metallic building materials bounce available light back onto subjects. After rain, cities become enormous softboxes. Position yourself to catch these reflections in your composition—they add depth and visual interest while effectively doubling your apparent light sources. The difference between a mediocre night shot and a striking one often comes down to waiting five minutes for someone to walk through the right patch of reflected storefront light.
For technical deep-dives on urban light behavior, Light Stalking's night street photography guide offers excellent case studies with exposure settings.
When Should You Embrace Motion Blur Instead of Fighting It?
Not every night shot needs tack-sharp subjects. Intentional camera movement, long handheld exposures, and subject motion can convey energy and atmosphere impossible to achieve with frozen frames. Try dragging your shutter at 1/15s or 1/8s while panning with moving subjects—cars, cyclists, pedestrians. The sharp subject against streaked background lights creates dynamism.
Another technique: hold your camera steady while people move through the frame during a 1-second exposure. Stationary elements remain sharp while humans become ghostly blurs. This works exceptionally well in busy urban locations where crowds add scale and mystery. The key is stabilizing what matters while letting motion tell the story. Your arms become the tripod, braced against walls, railings, or your own body tension.
Experiment with rear-curtain sync flash if your camera supports it. The flash fires at the end of the exposure rather than the beginning, freezing motion trails behind moving subjects instead of in front. This creates the illusion of speed and direction that front-curtain sync disrupts.
Putting It All Together
Handheld night photography demands compromises, but those limitations breed creativity. You'll miss shots that tripod-mounted photographers capture effortlessly. You'll also capture spontaneous moments they miss while adjusting leg locks and checking bubble levels. The techniques above aren't workarounds for inadequate gear—they're legitimate approaches with distinct aesthetic qualities.
Start with the fundamentals: know your camera's ISO limits, practice zone focusing until it becomes automatic, and learn to read urban light the way landscape photographers read natural light. Carry a small bean bag or inflatable cushion for improvised stabilization when opportunities arise. Most importantly, shoot extensively—digital storage is cheap, and the feedback loop of reviewing images immediately accelerates your learning curve faster than any tutorial.
Night photography without a tripod isn't a lesser form of the craft. It's a different discipline entirely, rewarding quick reflexes, environmental awareness, and technical adaptability. The next time you leave home without three pounds of aluminum support, you'll be prepared—not limited.