10 Essential Night Photography Tips for Stunning Results

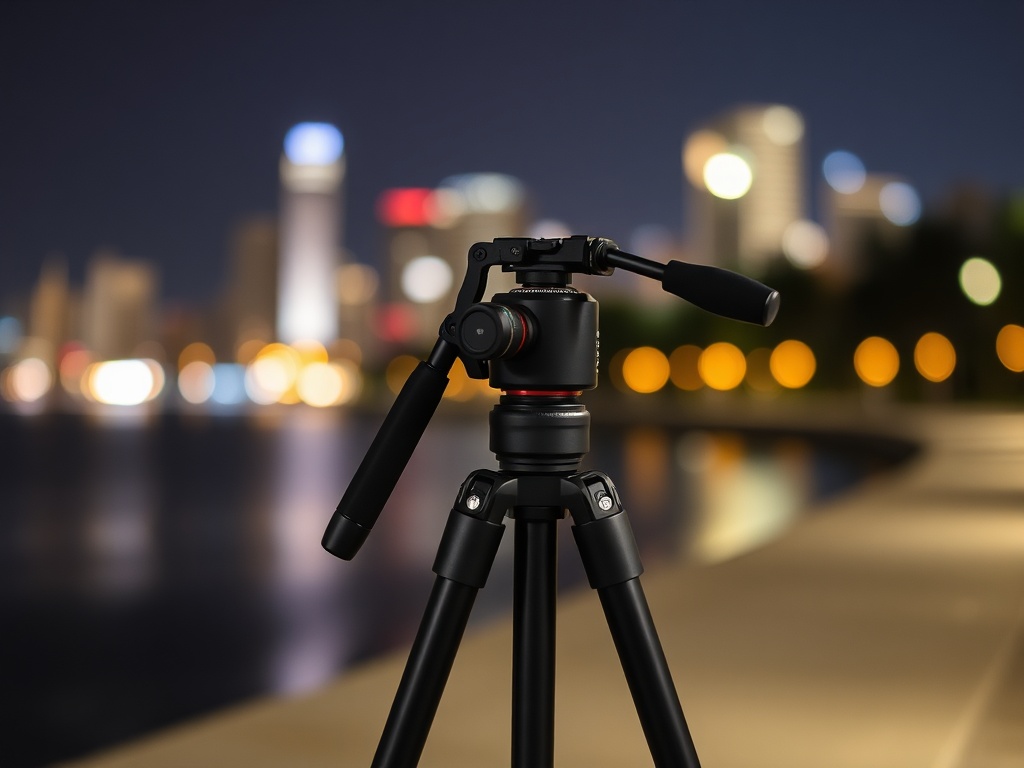
1. Use a Tripod to Stabilize Your Camera
One of the most important aspects of night photography is stability. Long exposures can result in blurry images if your camera shakes even slightly. A tripod helps to keep your camera steady, ensuring your shots are sharp and clear. Additionally, using a tripod will allow you to use slower shutter speeds without worrying about motion blur.
2. Master Long Exposure Settings
Long exposure is crucial in night photography. It allows you to capture more light, which is essential in dark environments. To achieve stunning night photos, set your shutter speed to several seconds or more. You can experiment with different exposure times to find the best balance between light capture and exposure.

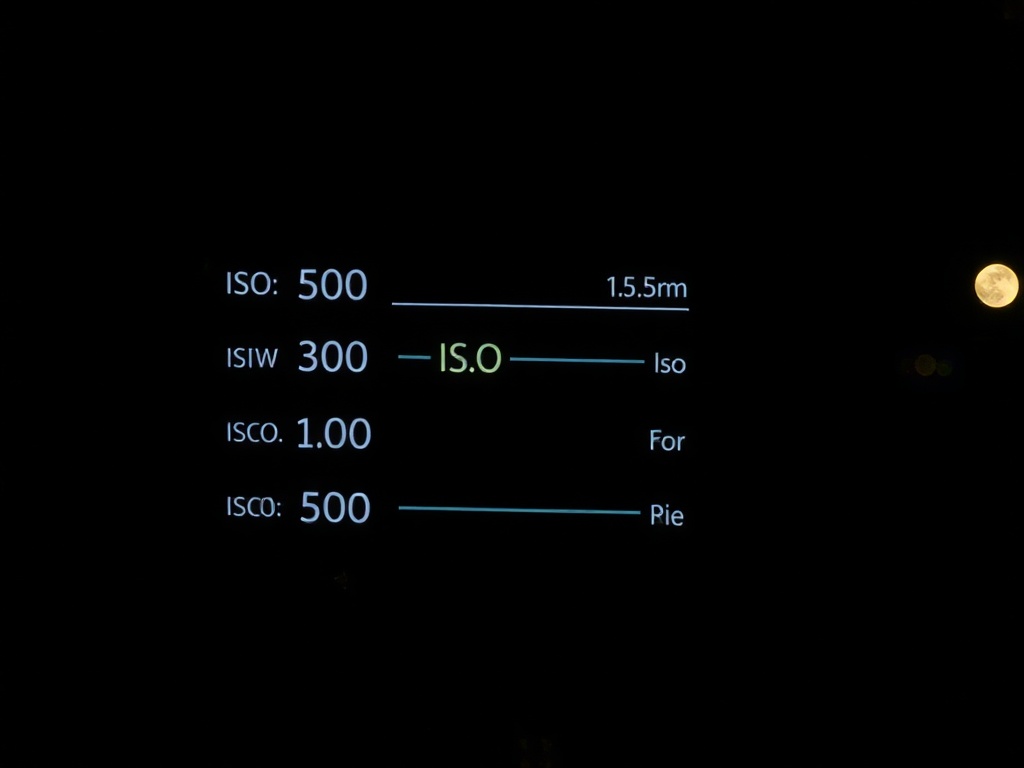
3. Use a Low ISO Setting
Night photography often requires a higher ISO, but avoid cranking it up too much as it can introduce unwanted noise. Instead, opt for the lowest ISO that still allows you to get a good exposure. This will help maintain the quality and sharpness of your photos.
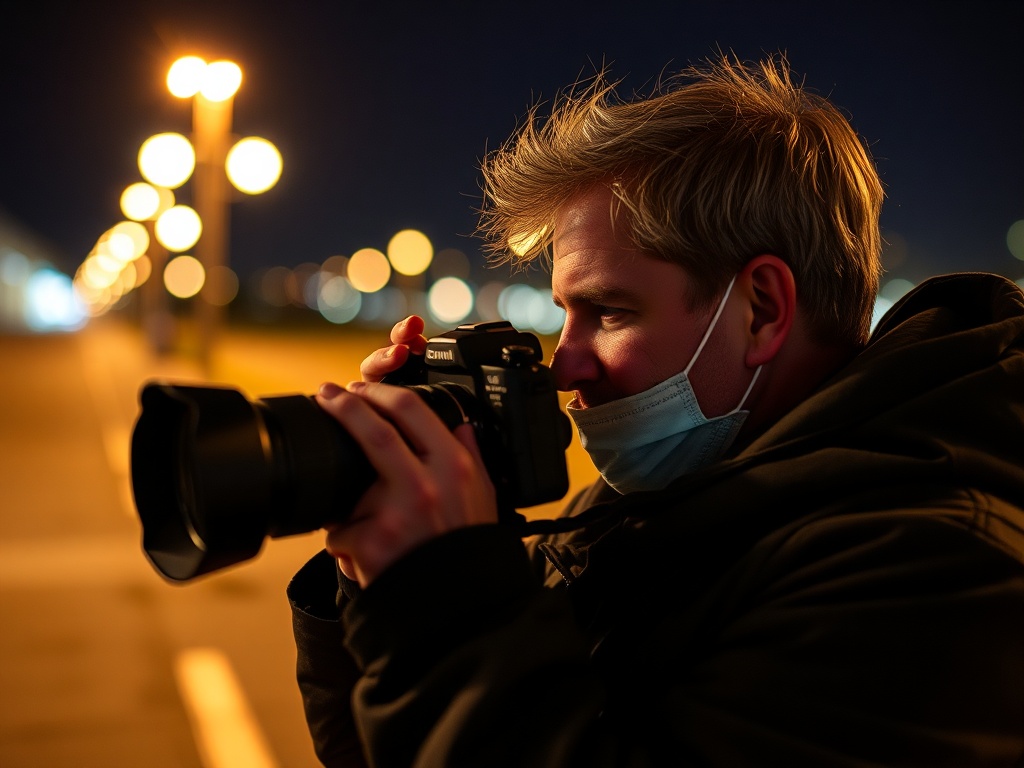
4. Focus Manually for Precision
Autofocus can struggle in low-light conditions. To get sharp images, switch to manual focus mode. Focus on a bright light or distant object, and adjust until it’s as sharp as possible.
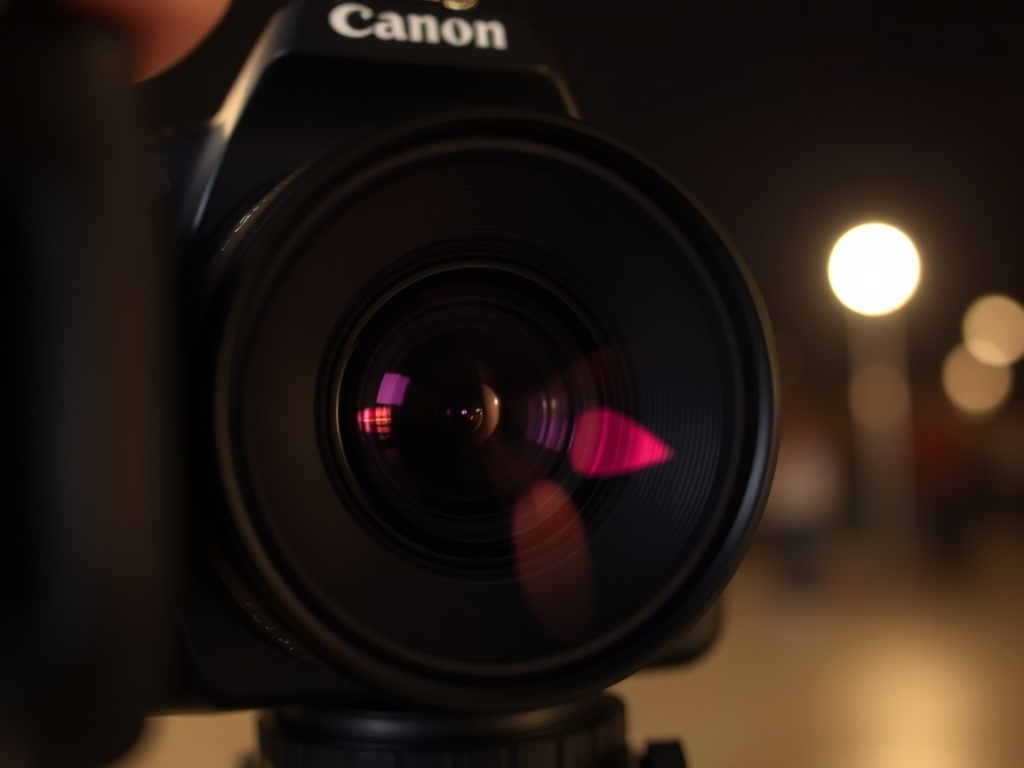
5. Experiment with Aperture Settings
Your aperture setting influences the amount of light that enters the lens. For night photography, use a wide aperture (low f-stop number) to allow more light in. This is especially helpful when shooting in dark environments without much artificial lighting.
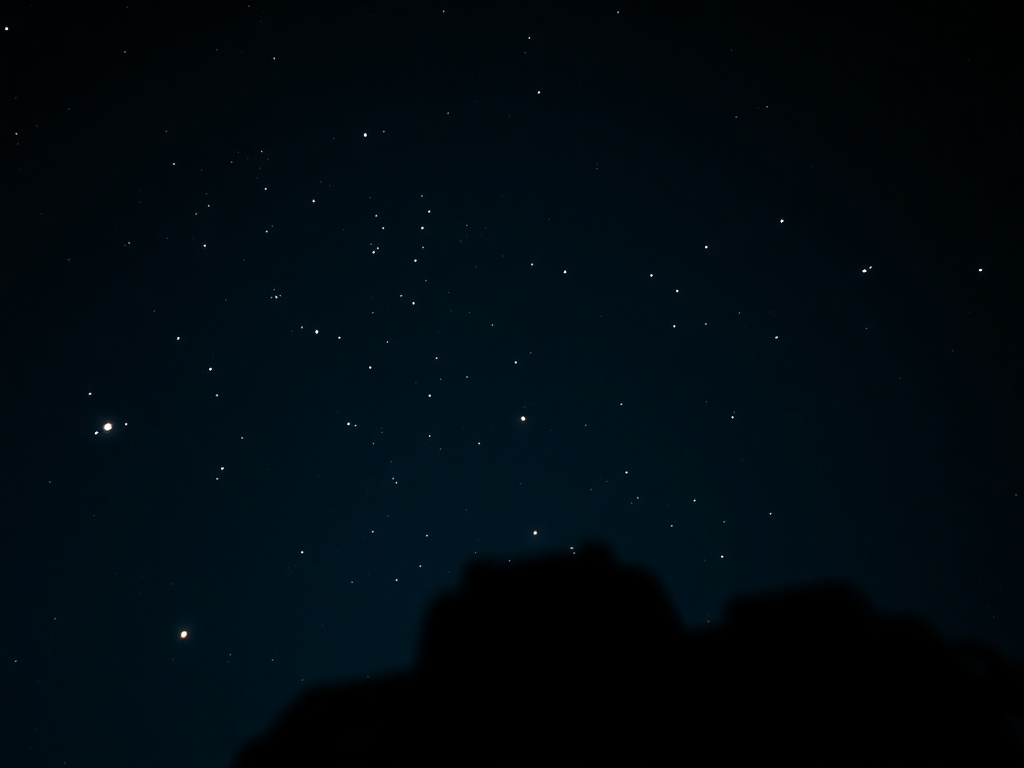
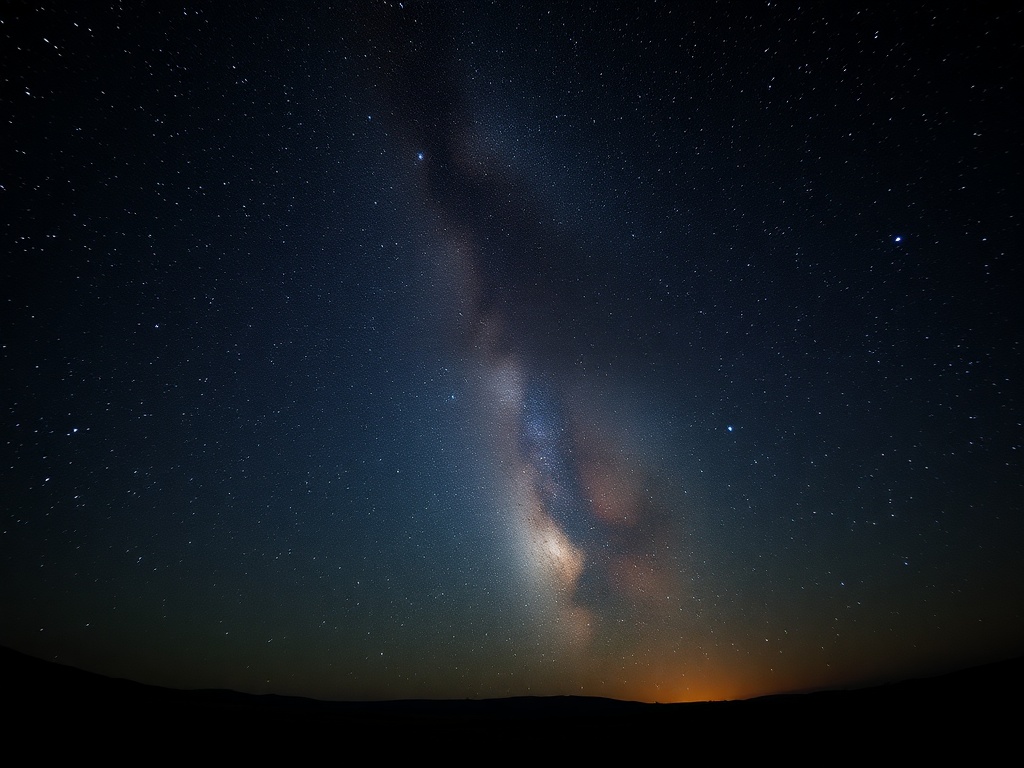
6. Capture the Stars with a Wide-Angle Lens
Wide-angle lenses are perfect for capturing the vastness of the night sky. A lens with a focal length between 14mm and 24mm is ideal for shooting stars, the Milky Way, or wide cityscapes. The wider the lens, the more of the scene you can capture in one shot.
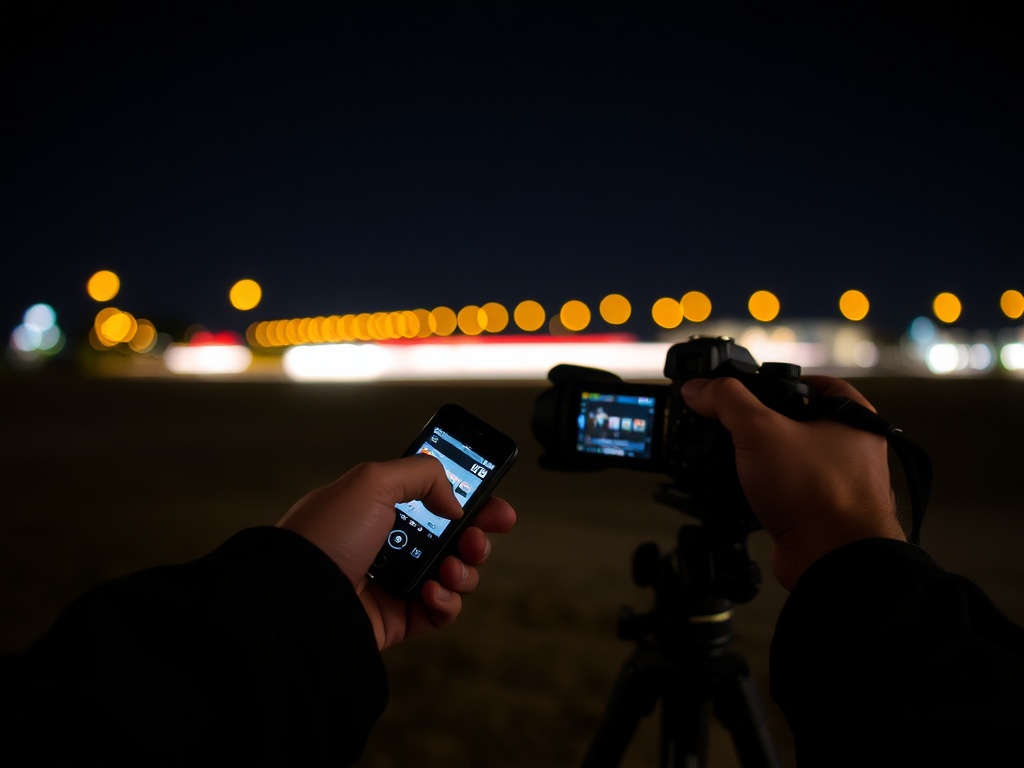
7. Use a Remote Shutter Release or Timer
To avoid camera shake when pressing the shutter button, use a remote shutter release or set a timer on your camera. This prevents any movement that could blur your image, ensuring a sharper final result.
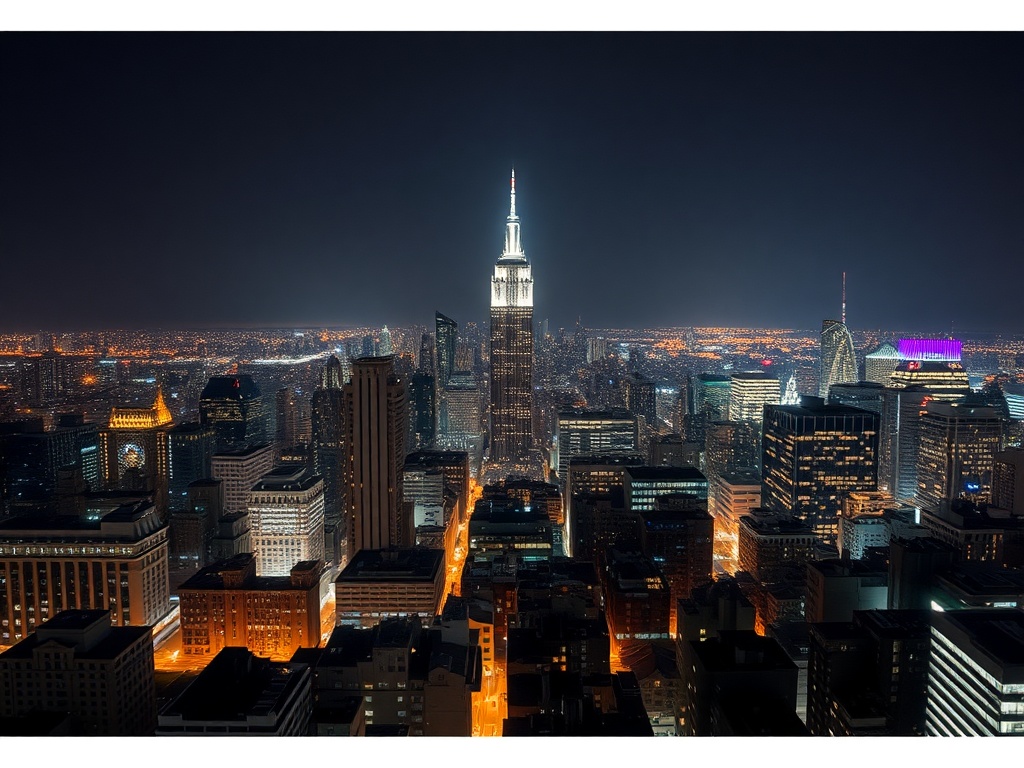
8. Choose the Right White Balance
White balance affects the colors in your photo. For night photography, it’s essential to choose the right white balance to avoid overly warm or cool tones. You can manually adjust the white balance or use the “tungsten” setting for cooler tones, which often works well in cityscapes.
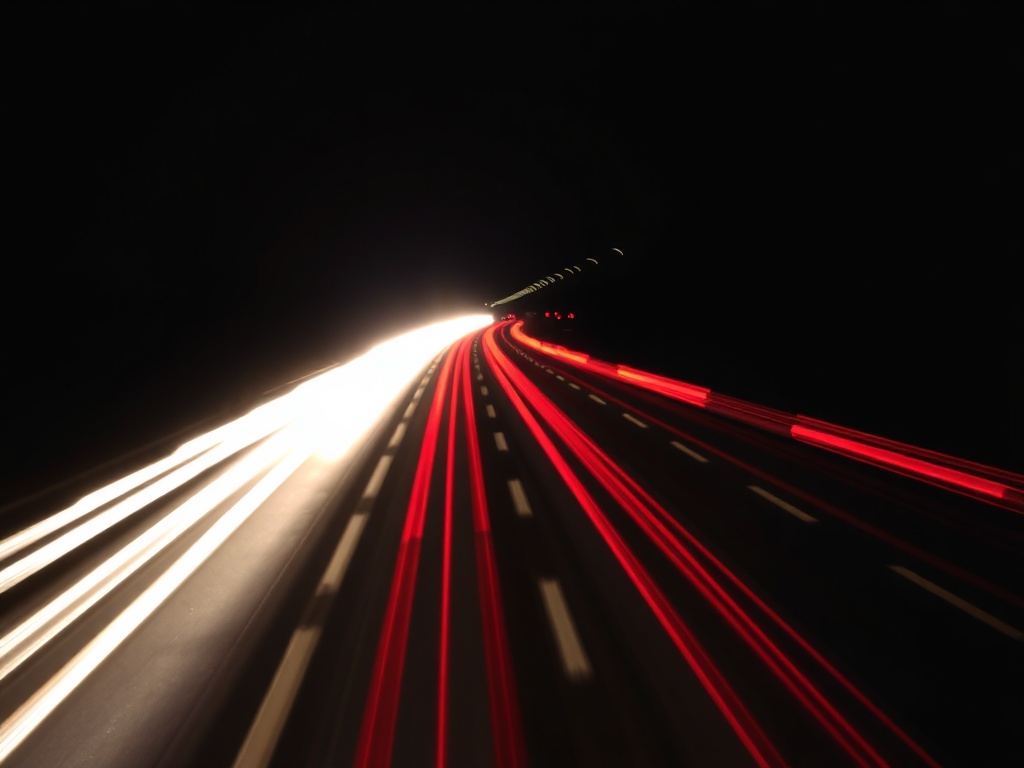
9. Experiment with Light Trails
Nighttime offers the perfect opportunity to experiment with light trails. Capture moving lights like car headlights or passing streetlights by using long exposure. These trails can create dynamic and artistic effects in your photos.
10. Post-Processing for the Perfect Shot
After capturing your night photos, post-processing can help enhance them. Adjust the contrast, exposure, and noise reduction to bring out the details in your images. Programs like Lightroom or Photoshop can help you achieve the perfect night shot by fine-tuning the color and sharpness.